Instructions, templates and photos by Karen Ellenmeyer
Preparation
You will need the following tools and materials to tailor Bakiwi clothing:
Tools
-
sewing machine (recommended)
-
punch pliers
-
sewing needle
-
pins
-
scissors
-
pencil
-
tape measure or ruler
Materials
-
pieces of fabric with light stretch
-
yarn
-
all purpose glue
|
|
If you have no sewing experience at all, take a look at a few tutorials on the Internet or let friends or relatives show you some sewing, or ask if they can teach you how to use the sewing machine. |
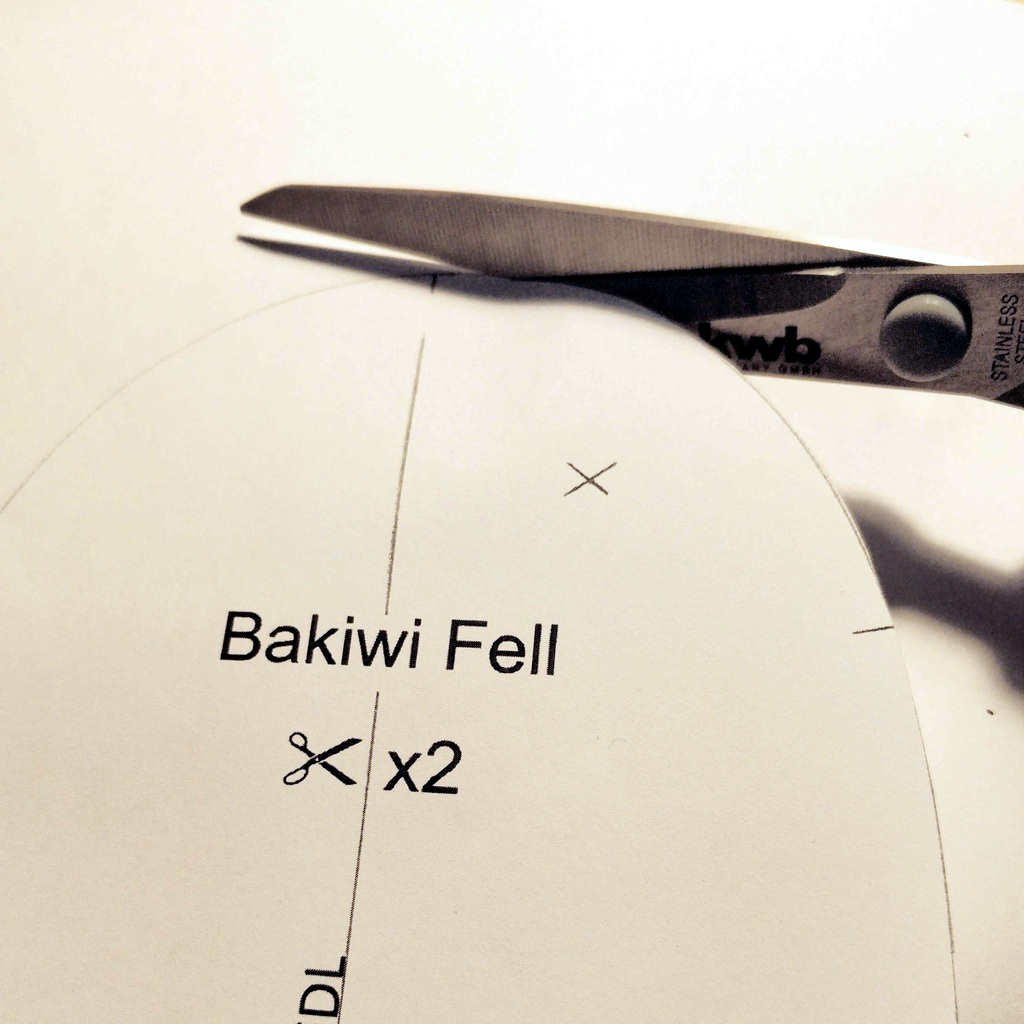
Create the template
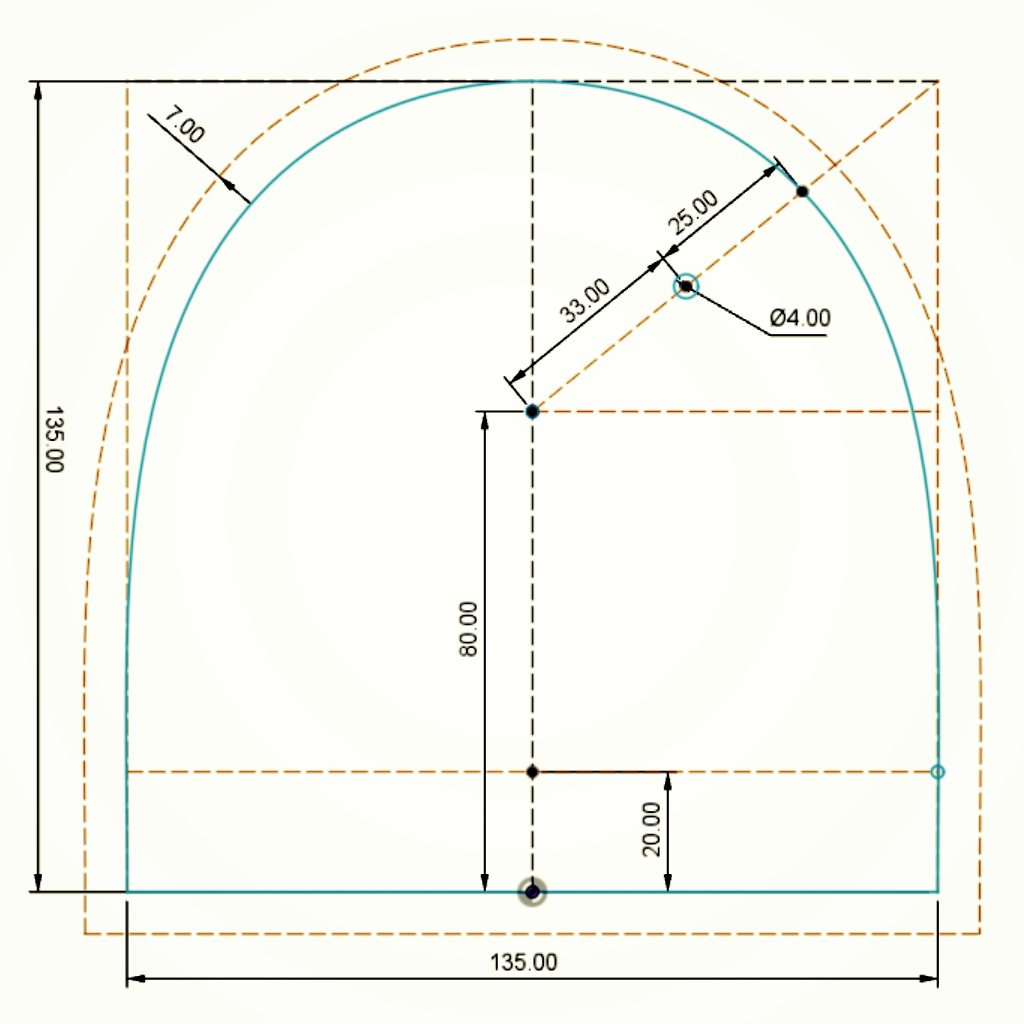
Create a cutting template by either sketching the given drawing on paper yourself or printing out the template (PDF) on paper or foil. If you have a 3D printer, you can also 3D print our stencil. The dimensions given are for fabrics with light stretch.
|
|
The specified cutting templates and dimensions are made for fabrics with slight stretching (blue solid line). If you want to use very firm fabrics without noticeable stretching, we recommend making the template approx. 7 mm larger all around (dashed outer line). |
Fold the fabric and mark the cut
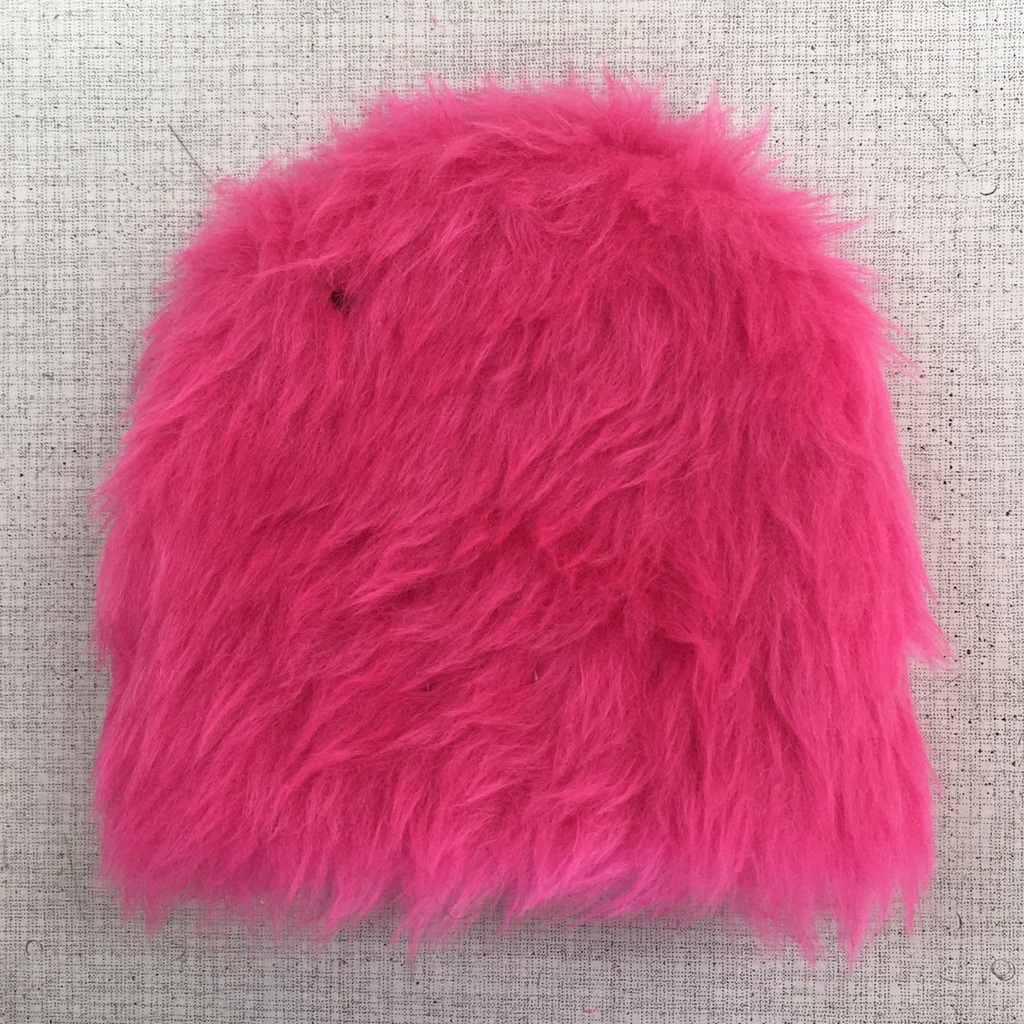
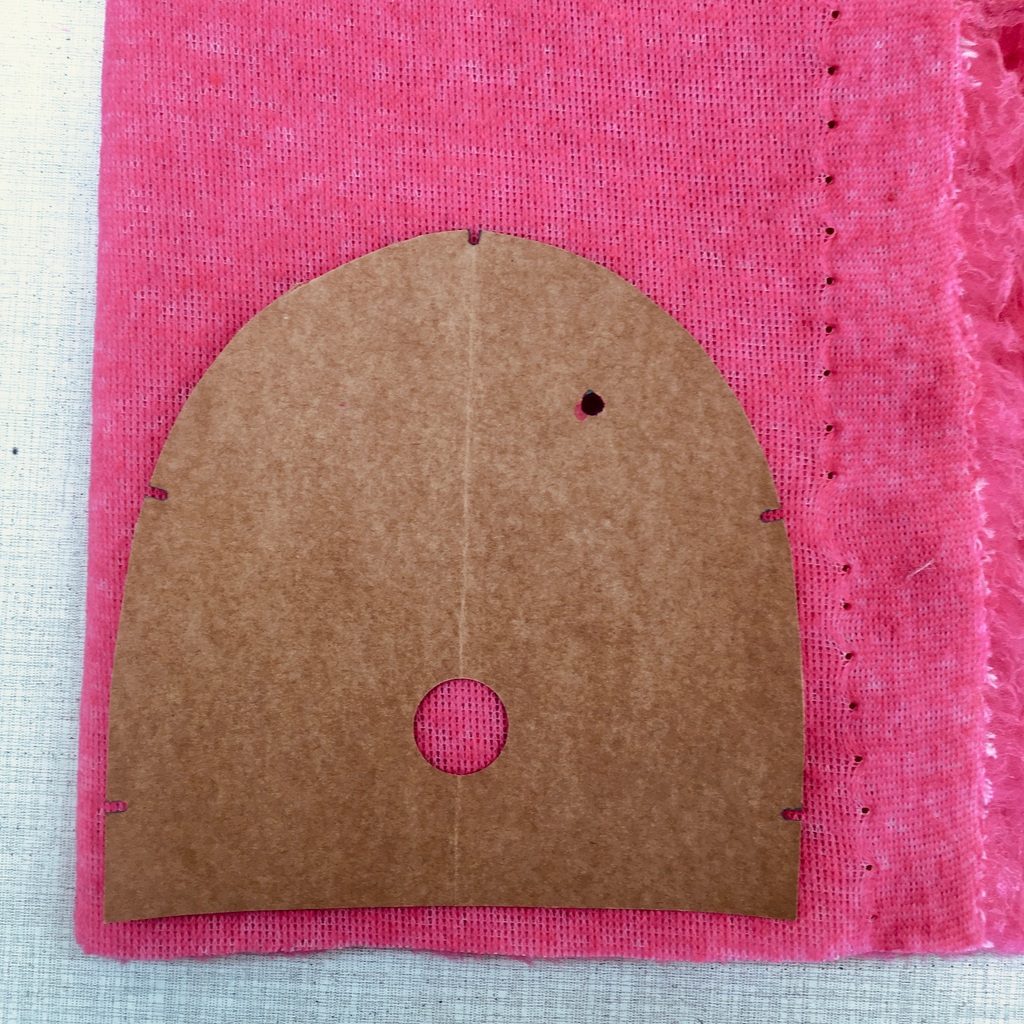
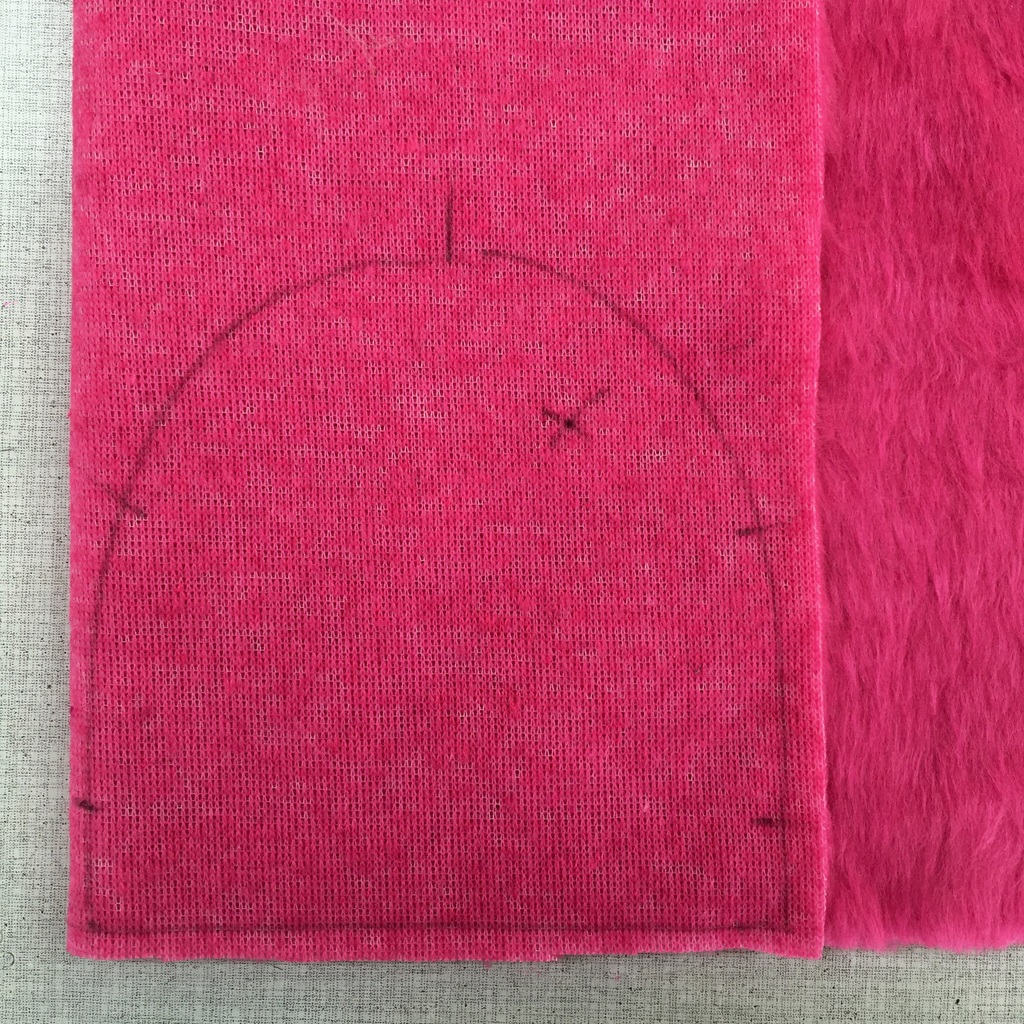
Fold the fabric so that the right sides (fur) are on the inside and the wrong sides are on the outside. Make sure the material’s most stretch is is in cross direction. If you are using fur-like fabrics, make sure that the direction of the hair is facing down, i.e. that it can be smoothed towards the hem.
Put on the cutting template and mark the pattern with a pencil or chalk on the wrong (i.e. inner) side of the fabric. Don’t forget to mark the positions for the sensors, too!
Cut out the fabric
Pin both layers together with a few needles so that they can’t move whilst cutting. Cut them out on the line, both at the same time, and as precisely as possible.

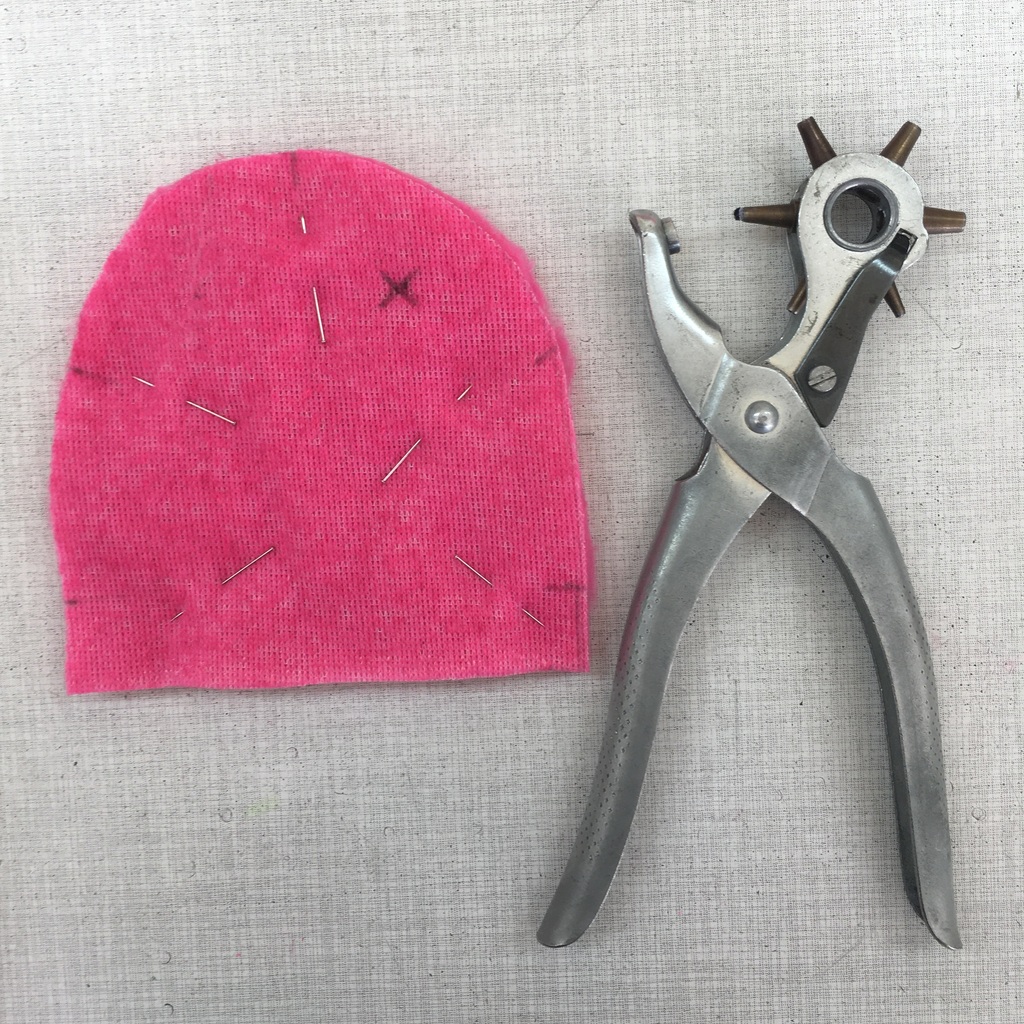
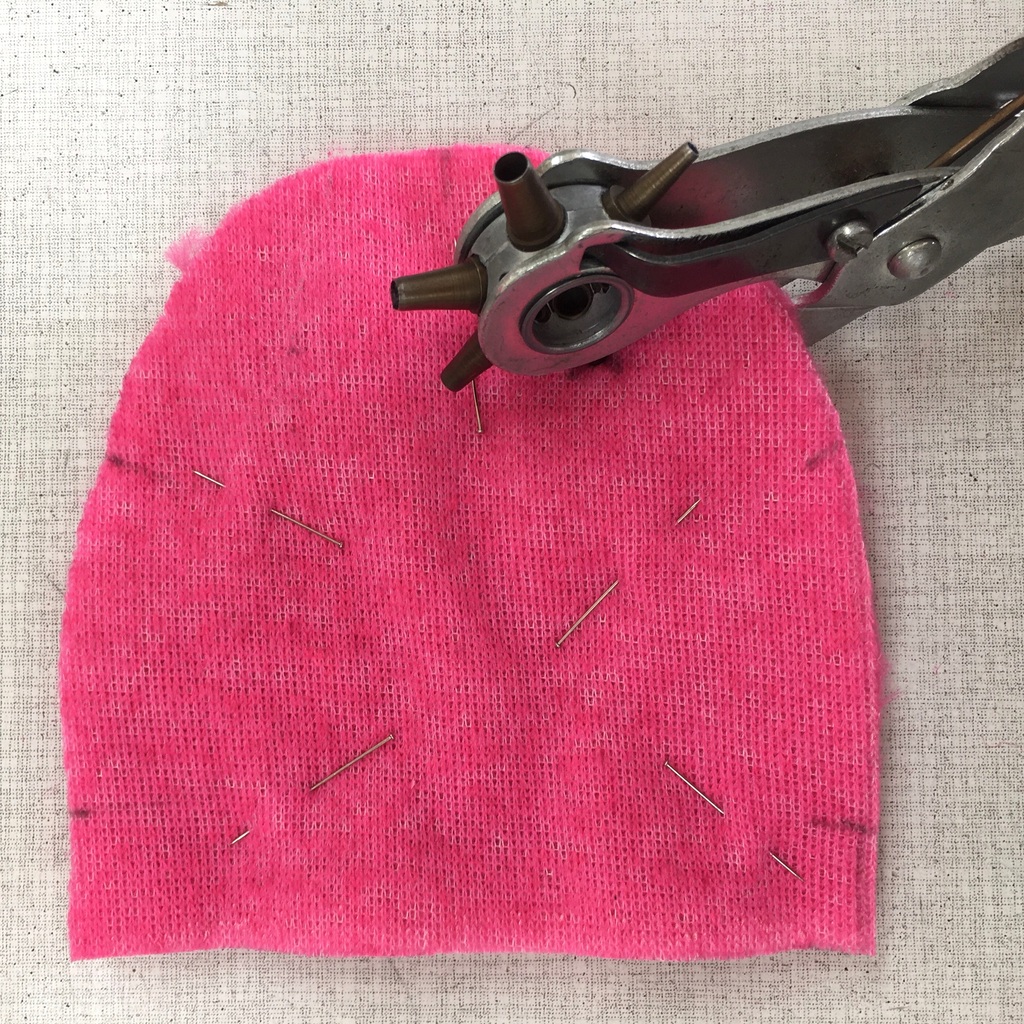
Punch holes and reinforce
Use punch pliers to cut holes for the sensors through both layers of fabric. For best results when punching, put a piece of cardboard below, between fabric and support surface. then the holes can be cut out nice and clean.
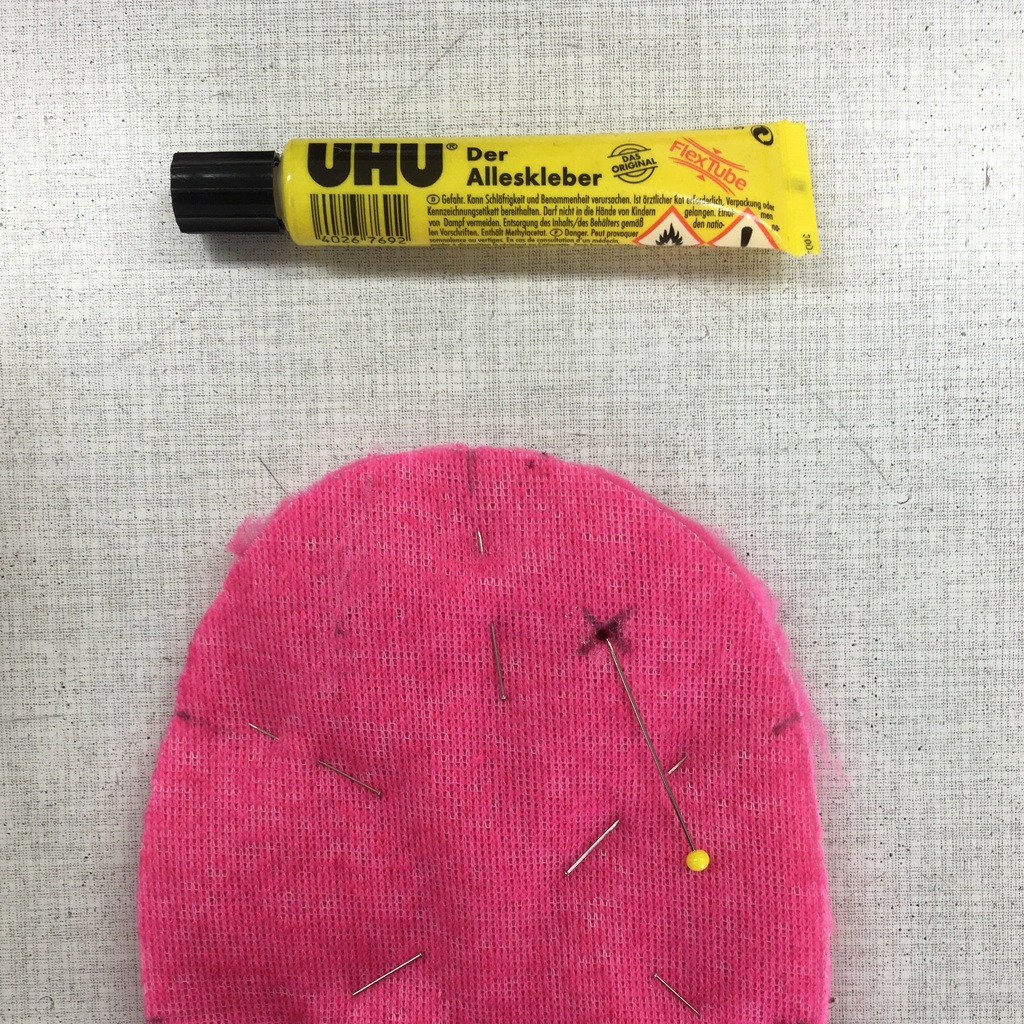
Now secure the holes from fraying with a little glue. All-purpose glue should suffice. Use a needle or toothpick to gently spread the glue around the holes in a 3-4 mm radius. Let the glue dry long enough.
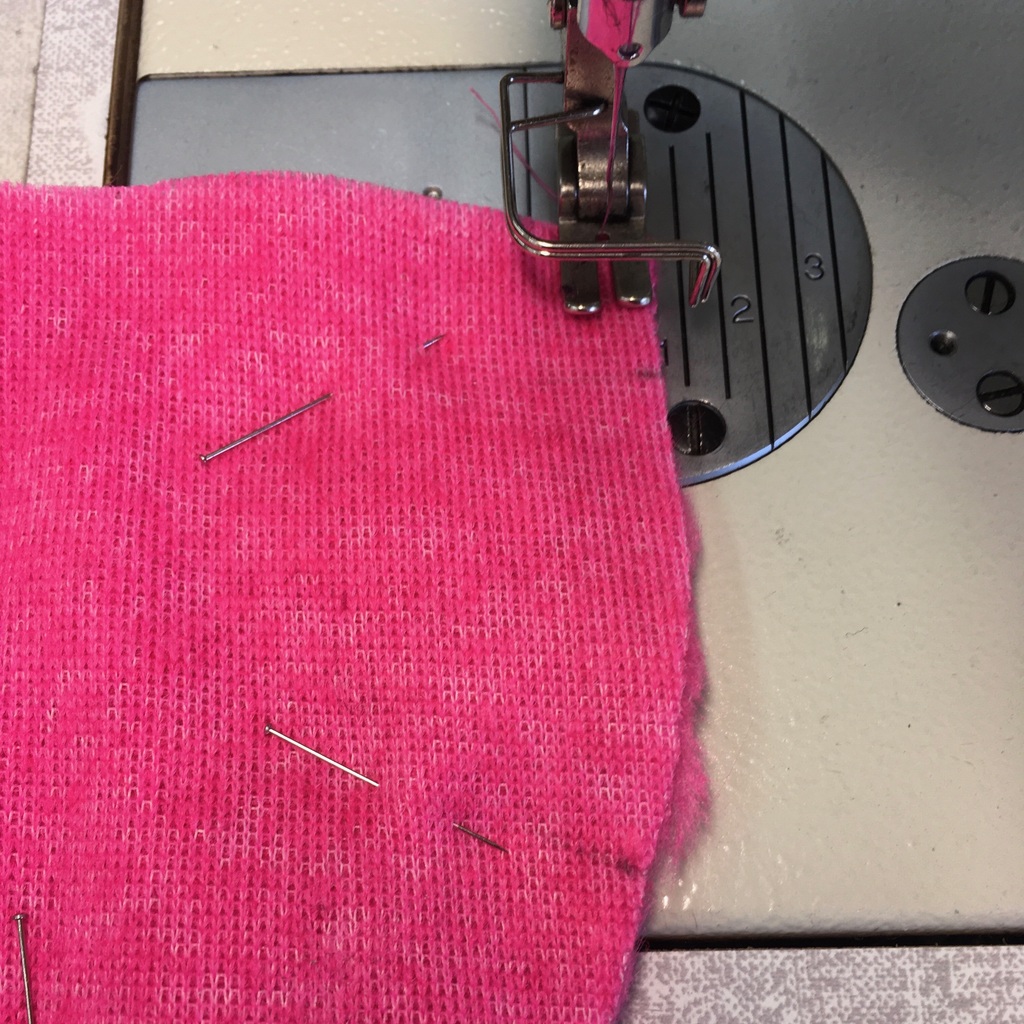
Sewing
Sew around the edges foot width on your sewing machine. Make sure beginning and end are locked by sewing a few stitches back and forth.
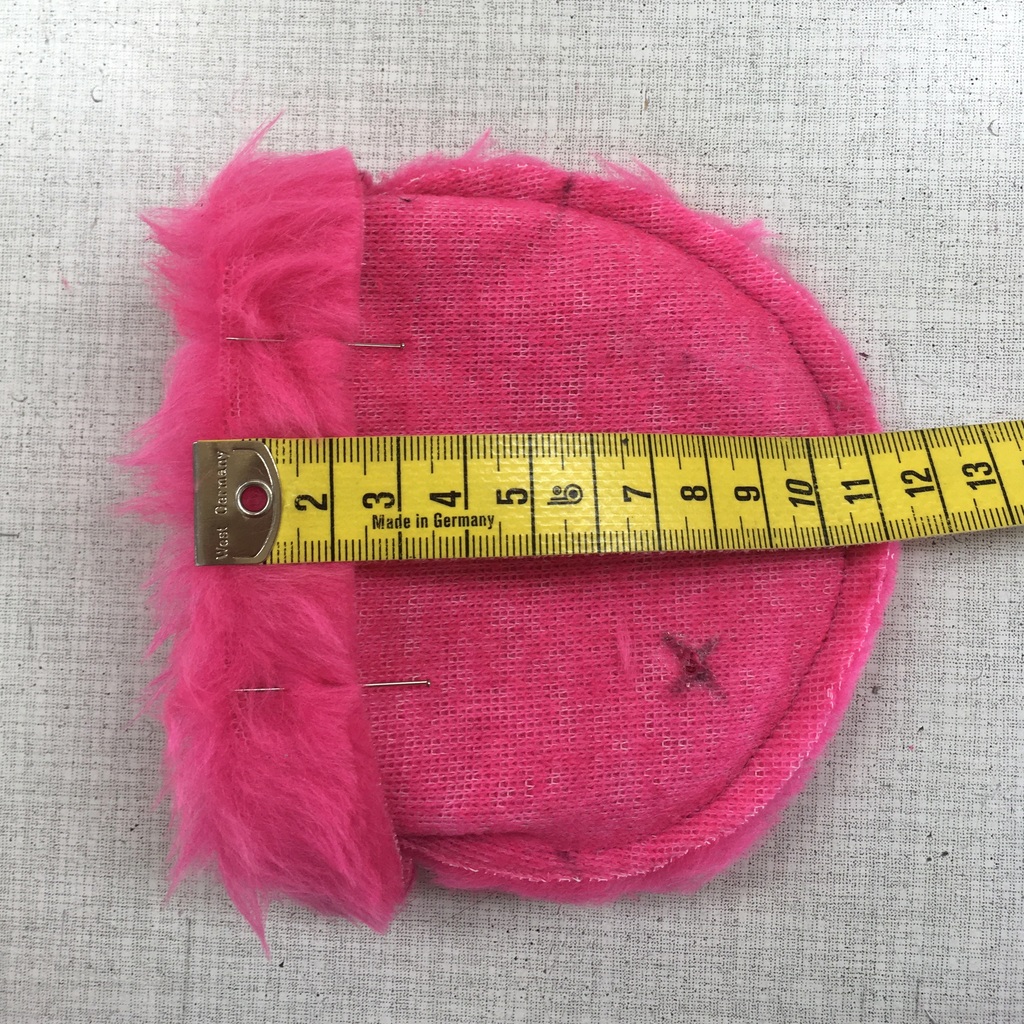
Turn the hem up and fasten it
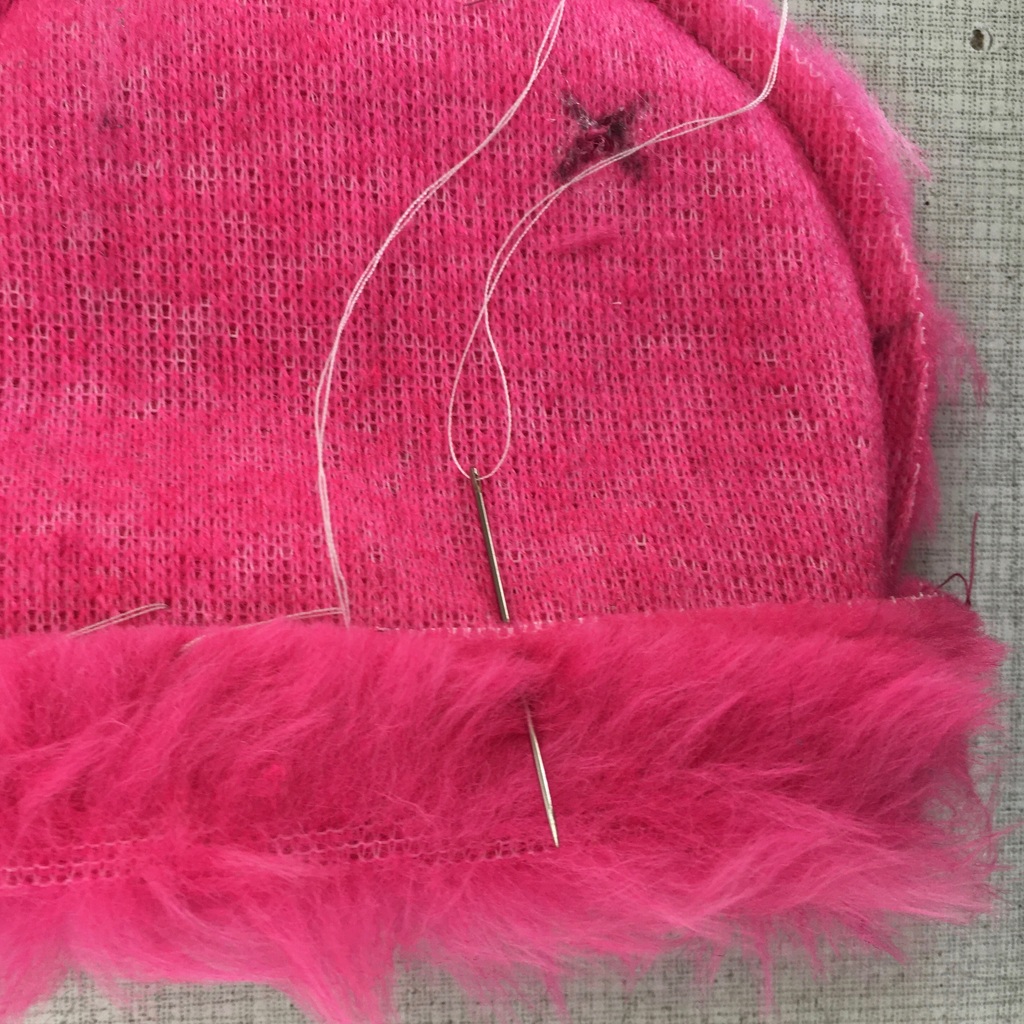
Fold the hem 2 cm up and sew it by hand, going over the edges with double thread (overlock stitch). Alternatively, simply glue the hem all the way around. Make sure not to overuse the glue so it can’t bleed through to the right side of the fur.
Try on
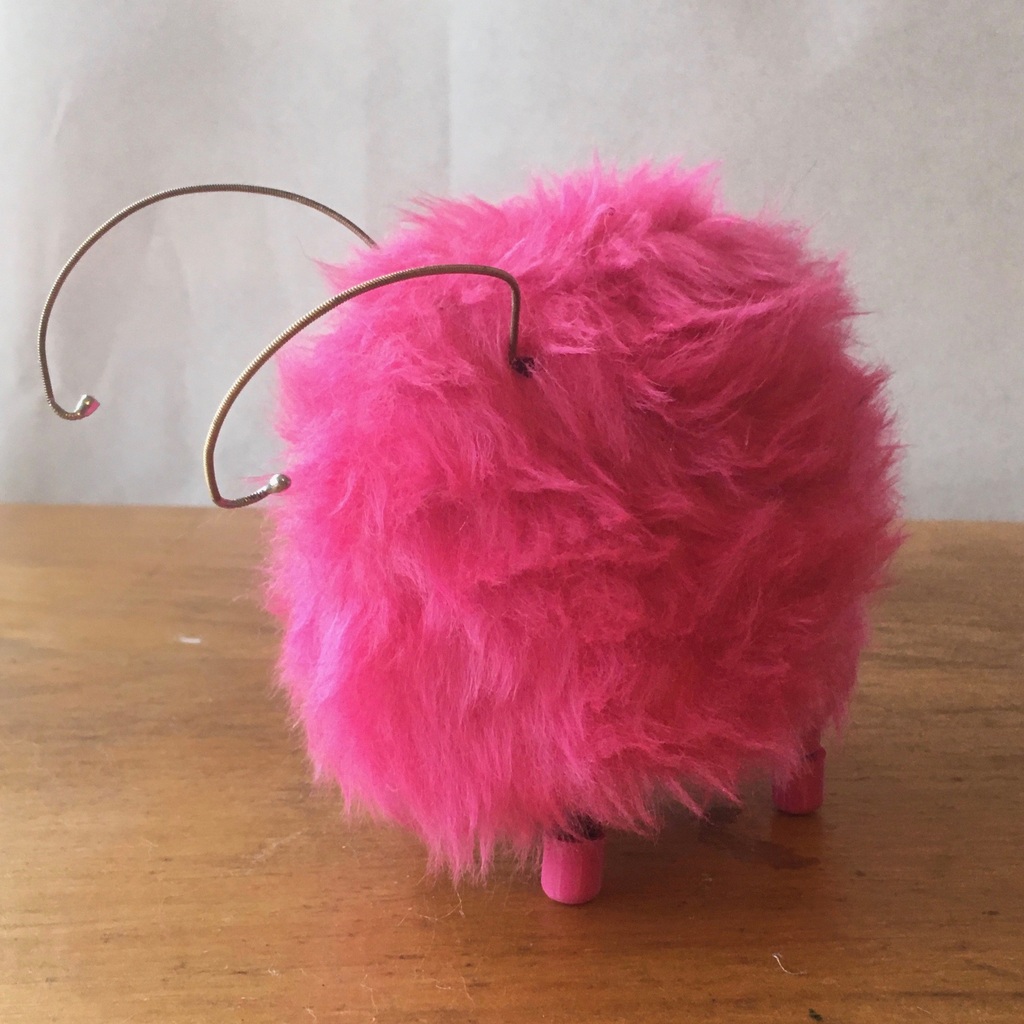
Turn over your newly created fur and dress up your Bakiwi. The feelers should first be inserted through the holes in the fur.
Done! Tadaahhhh.
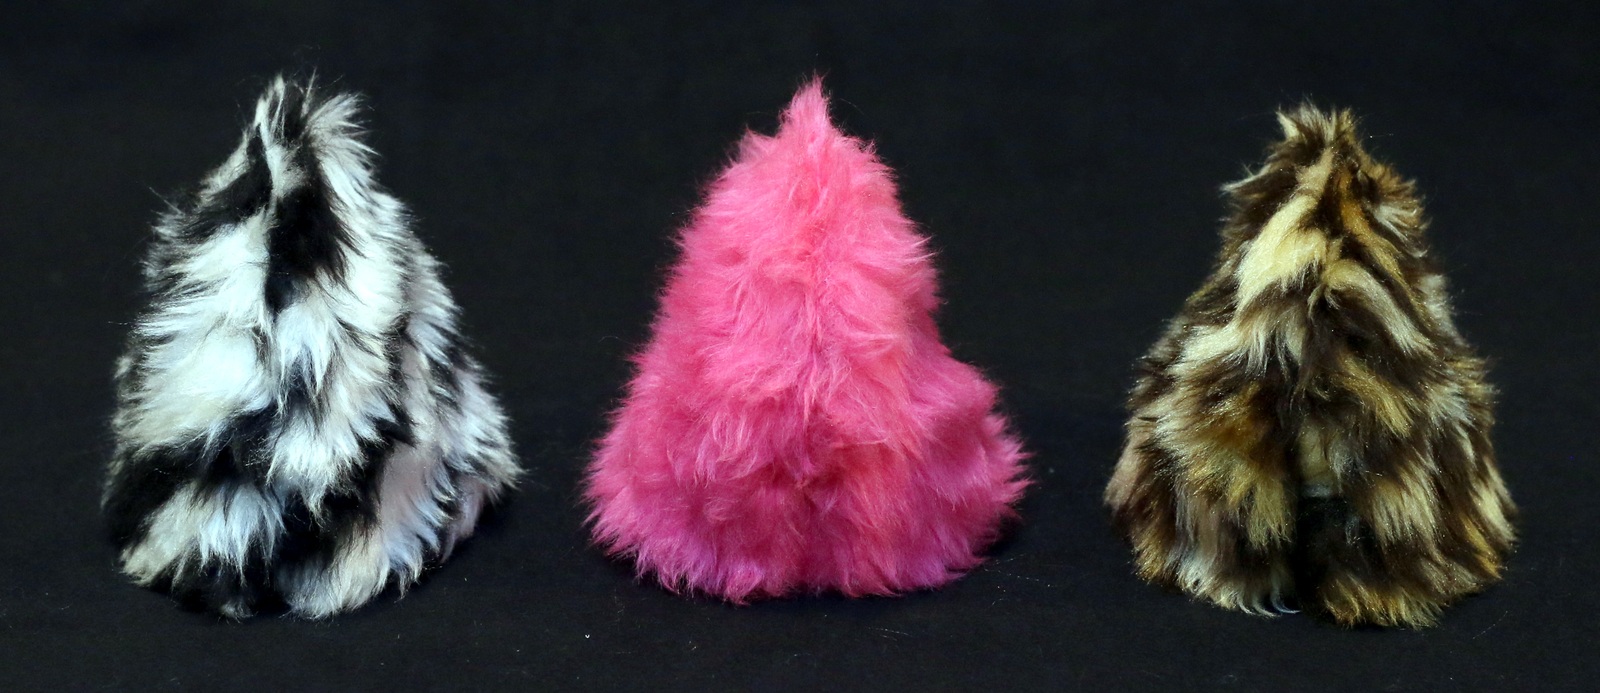
If you like, please be so nice and send us a photo or a video of your creation to info@jetpack.cl for our collection or post your individual Bakiwi apparel with the hashtag #bakiwi.